Now we are going to create the color image. We’ll do this exactly the same way as we did the white image, but this time fill the shapes with color.
If you are unsure about skintone colors, you are welcome to download our skintone swatches HERE.
Step 1 – Duplicate the Outline Layers
As we did before, duplicate the outline layer for the head, body and hair. Hide the white layers for now, as they will only get in the way.
Now start filling the shapes with color to create your character.
Step 2 -Duplicate the Face features and Fill With Color
When the body and hair are complete, duplicate the face features and add color to the eyes, eyebrows and mouth.
Step 4 – Add Highlights to Eyes
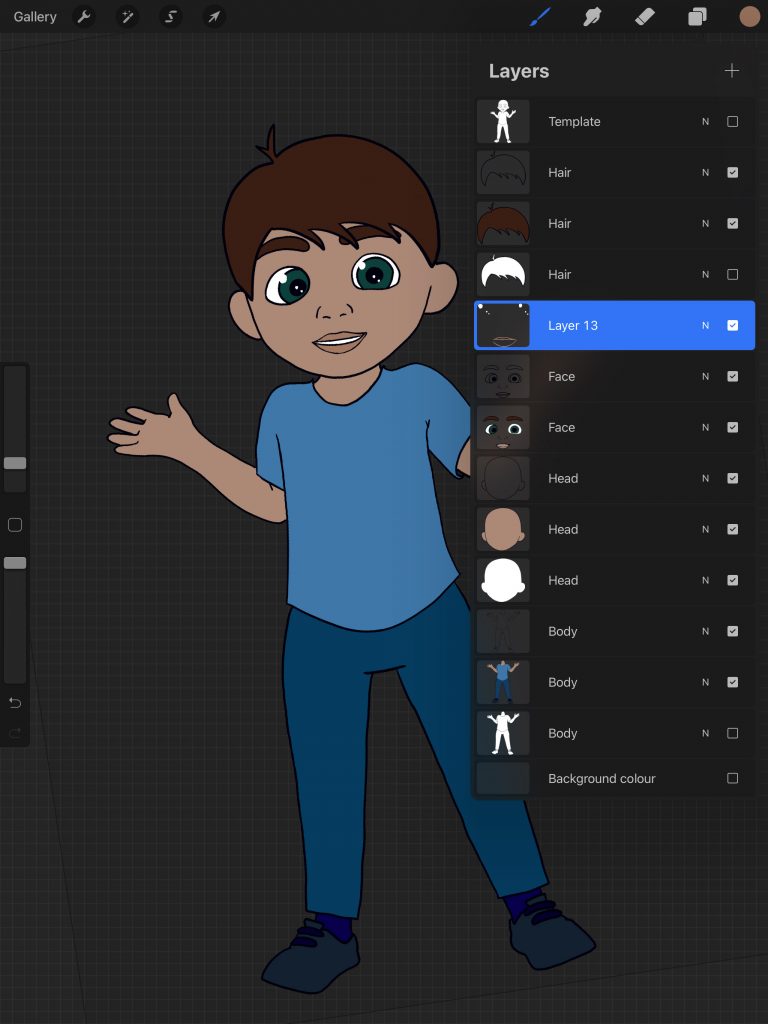
I like to add highlights to the eyes. To do this, create a new layer ABOVE the face features and draw a couple of white dots in the character’s eyes. This is just enough to give him some depth.
Step 5 – Adjust the Canvas Size and Export!
When you are happy with how your character looks, it’s time to export the png file.
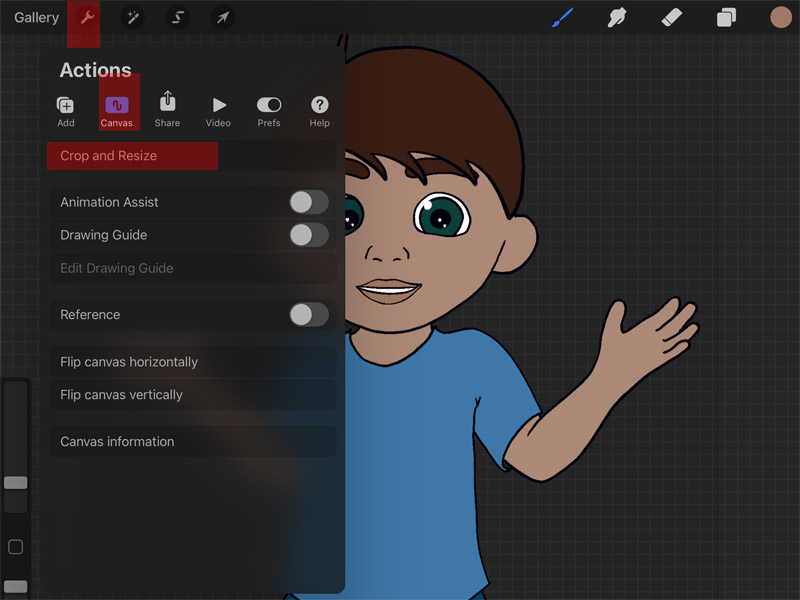
However, before we do this, we’ll crop the image to remove the empty space around the edge and change the dpi to 300 (for print).
To do this, go to the Actions icon (wrench), top left, and select ‘Canvas’. Then select the ‘Crop and Resize’ option.
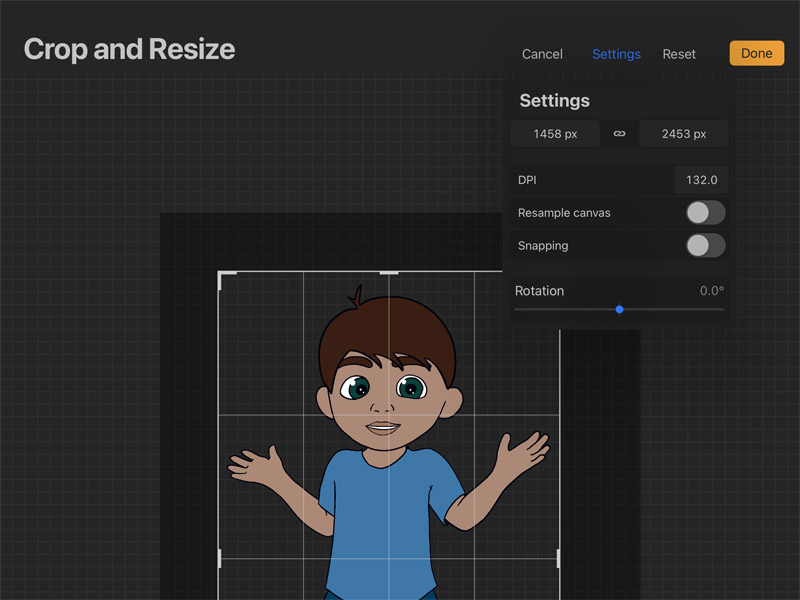
You can then move the edges of the canvas to trim away unwanted space and change the DPI.
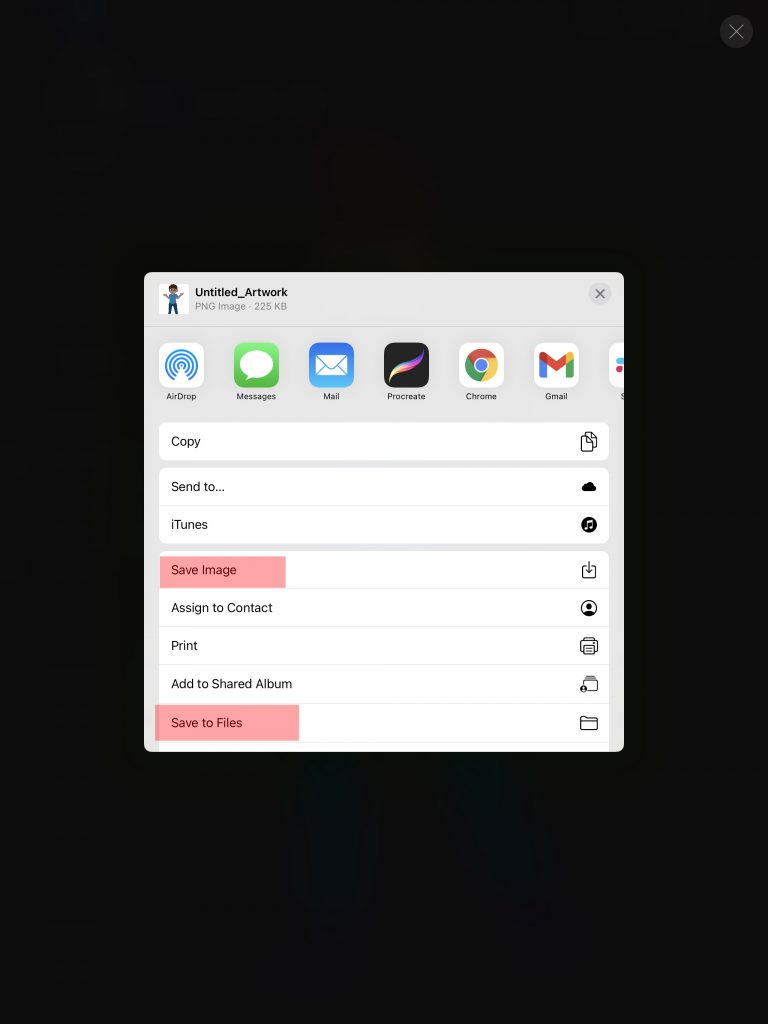
When you are ready to export, go to the Actions icon (wrench), top left, and select ‘Share’. Then look for the PNG option. Tap this and you will be given the option of save your image (which saves it to the camera roll on your device) or save to files, which includes iCloud, which is what I use.

When you have saved the colored version, hide the color layers and reveal the white layers and export this.
See how to make variations in the next tutorial.