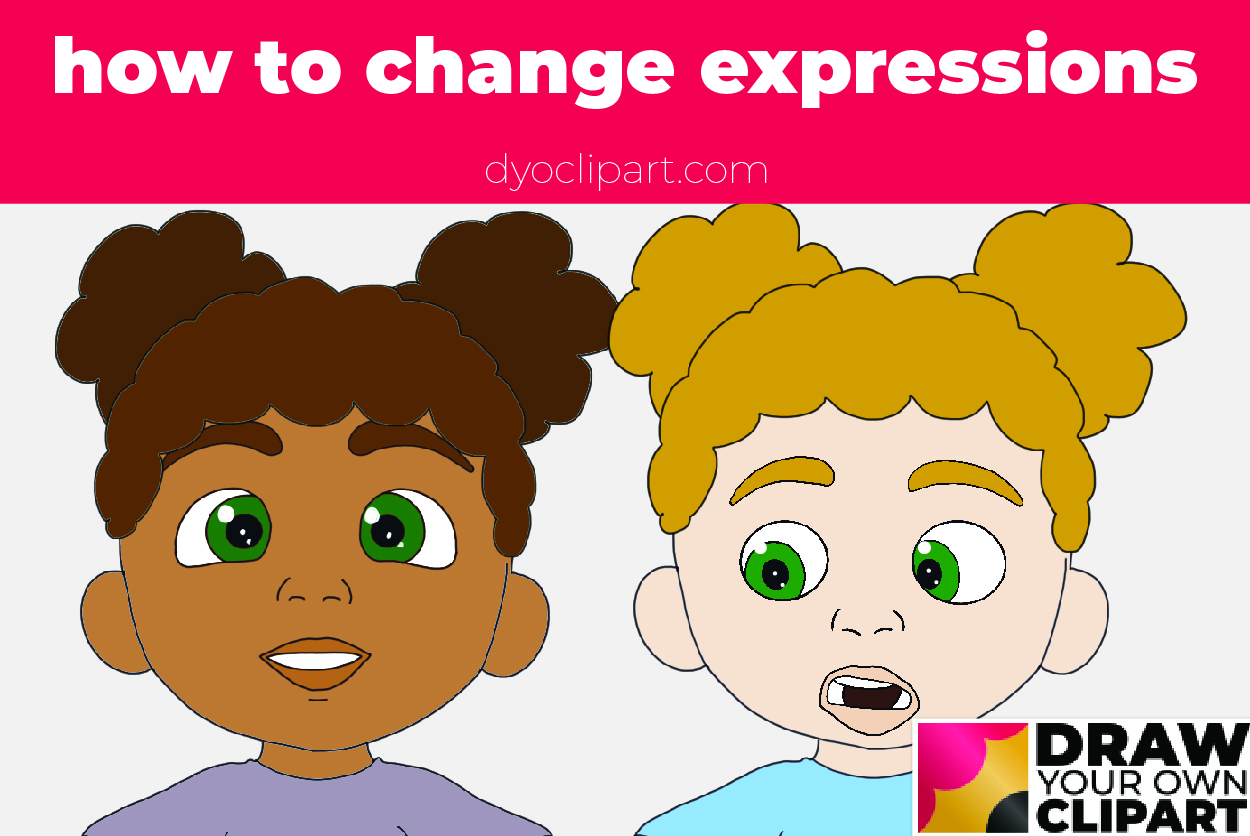
It’s really super easy to change the expressions on your clipart and this is a great way to make clipart for multiple uses from one base character.
To change the expressions it’s just a case of adding a new layer with a new face over the base head and turning off the previous face layer.
This is why we recommend using a drawing app with layers, because it makes changing elements super-quick and easy to do. You don’t need to worry about erasing parts of your image and then carefully redrawing the expression you require, you can simply hide or delete the expression you don’t want and add a new one.
How to Change Expressions
If you just want to tweak the expression, for example to increase the smile and raise an eyebrow, you can do this in Procreate using the Select and Warp tool (if you are using Sketchbook Pro you will find how to use the Warp tool here, and if you are using another app, look for the warp or distort tool).
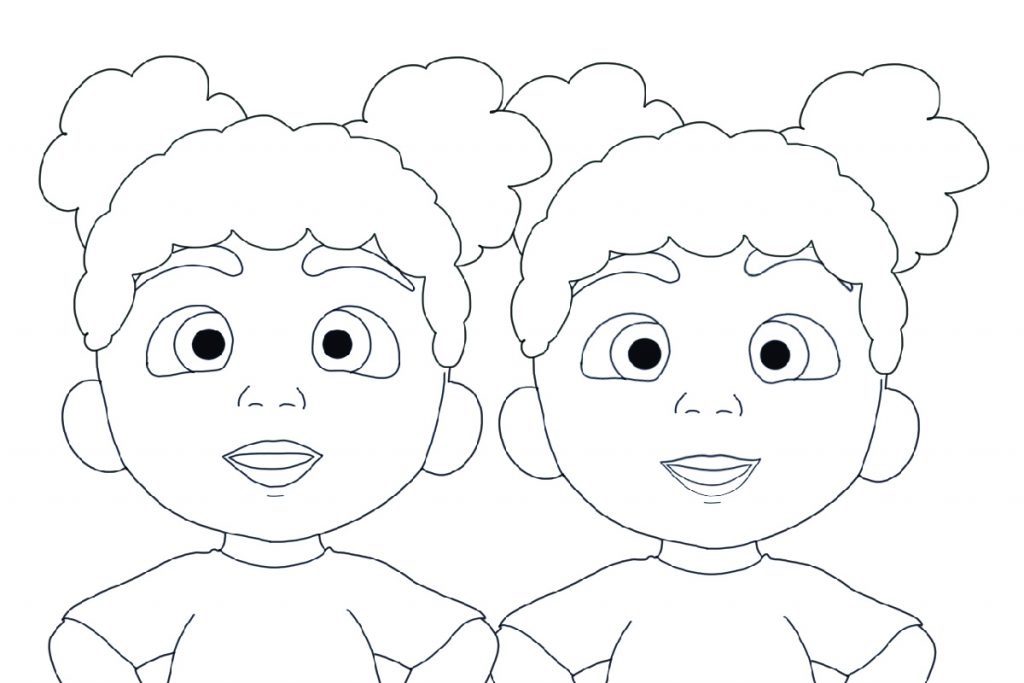
How to Use The Select and Warp Tool
Tap on the select tool and draw a ring around the element you want to tweak. In Procreate, you will find the select tool a the top left.
Tip: Remember to select the layer with the face expression to ensure it is active.
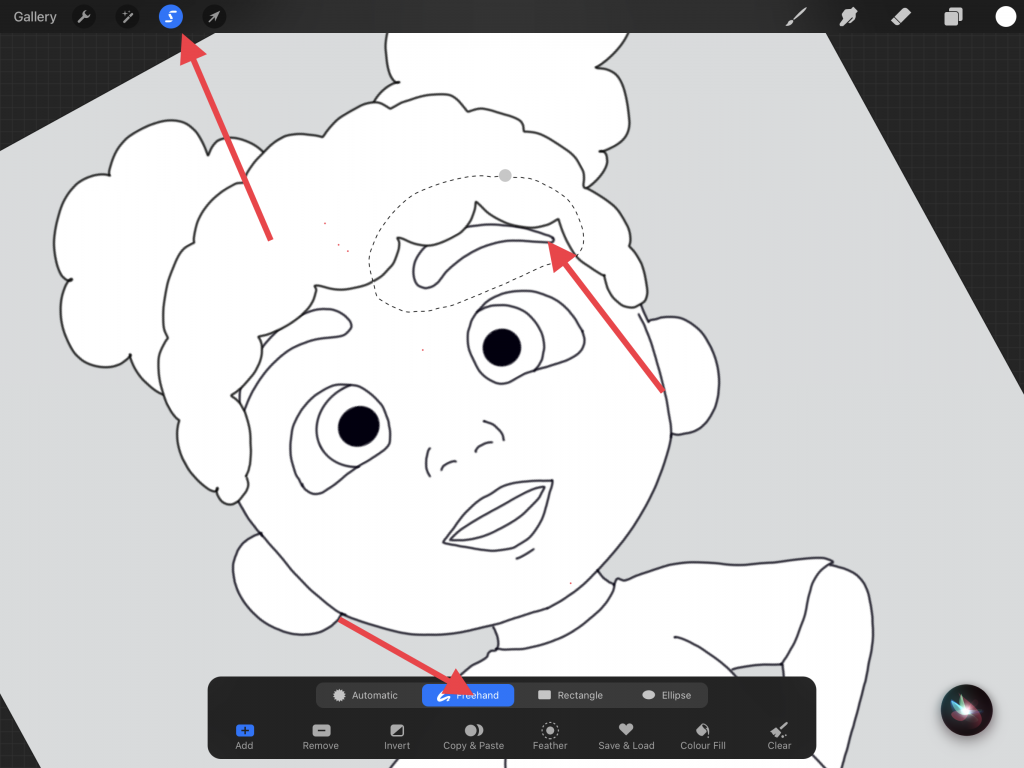
You will see you have the option for Automatic, Freehand, Rectangle and Eclipse. I most often use the Freehand tool to select the element I require.
Next move to the Transform tool (the arrow to the right of the Select tool). You will see a new menu has opened at the bottom of the page. Select ‘Warp’ and you will see a grid appear over the element you have selected.
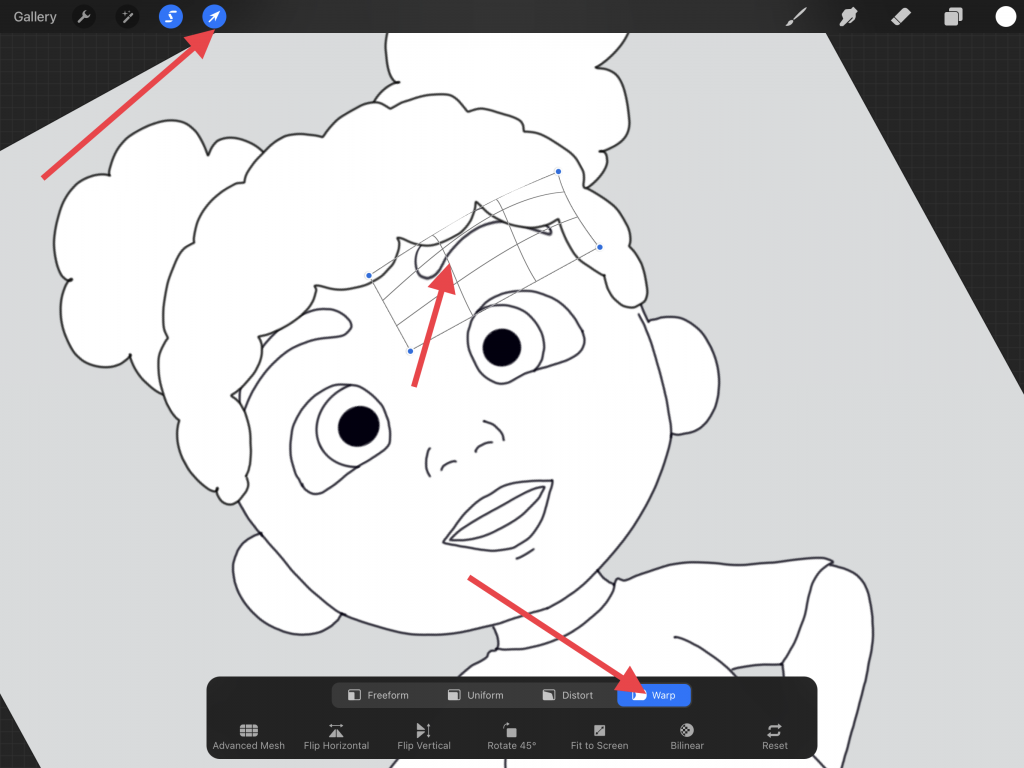
You can now adjust the element in different ways to the look you require.
If you want to move an element, for example to rotate the eyes, use the ‘Freeform’ option and you will find you can move and rotate the element.
This technique is ideal for tweaking an expression, for example to deepen a frown or smile.
How to Change an Expression
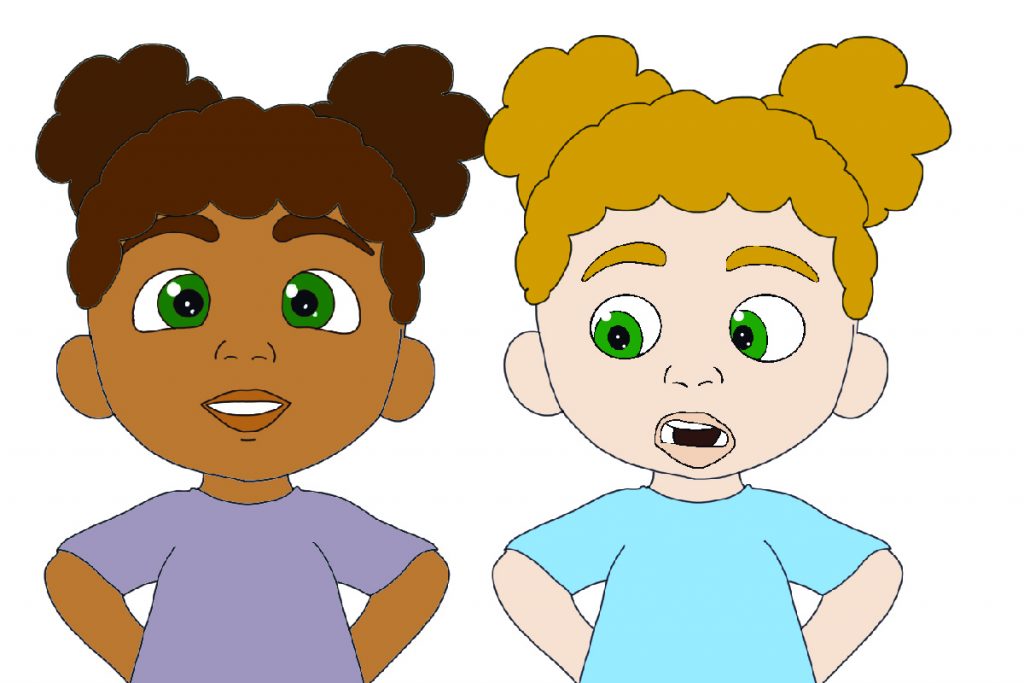
To make a more dramatic change to an expression, close or hide the current face layer and then either draw freehand or import a new expression.
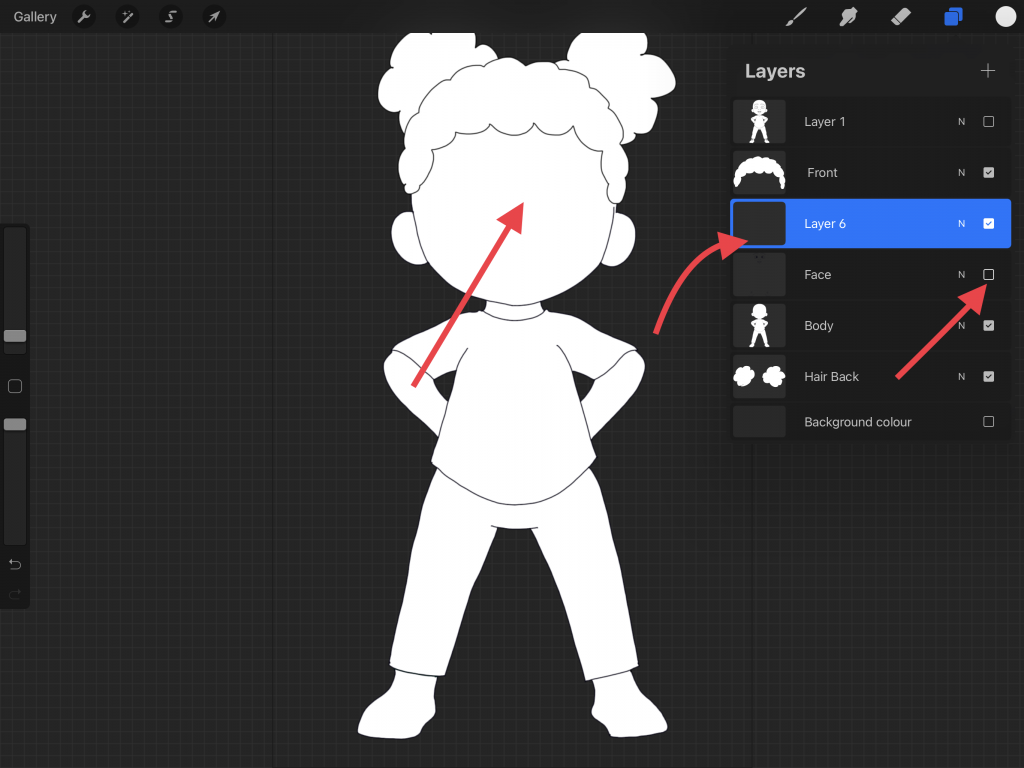
To add a new expression template, hide the current face layer and add a new layer to your project. You will see that your character now has a blank face.
To add a new template – select the Actions wrench tool at the top left.
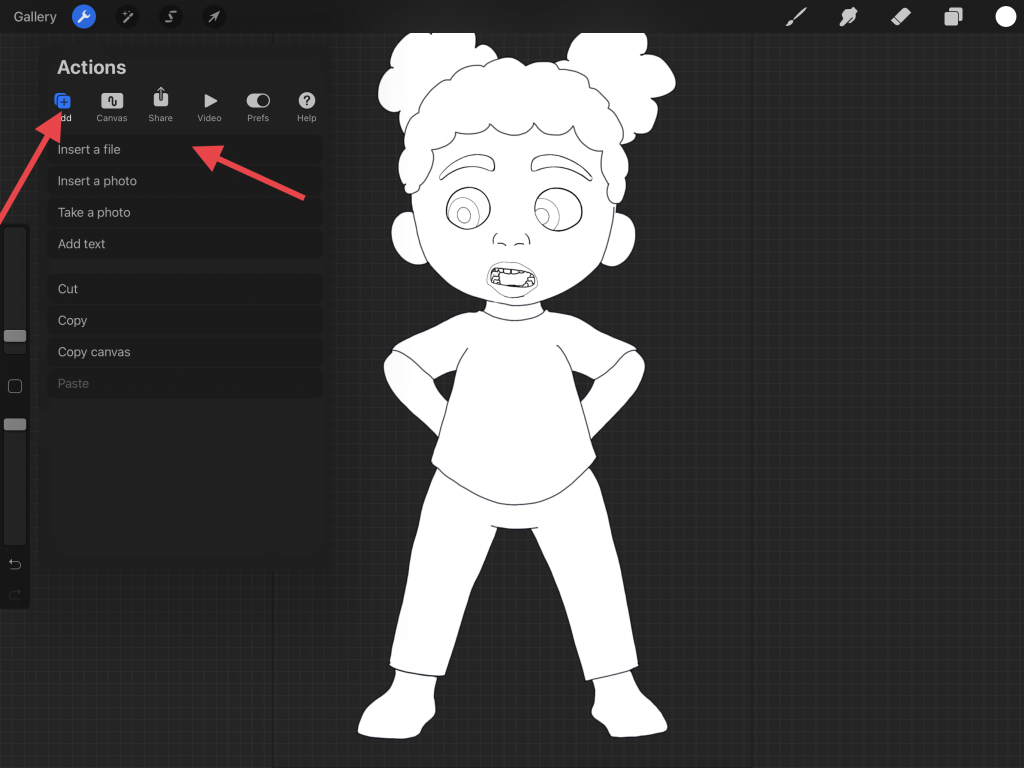
Make sure the ‘Add’ options are selected and then select ‘Insert File’ (or ‘Insert Photo if your templates are in your photo album on your device). Select the file you require and then adjust it into position on your character.
Now trace over the template as you had done before and add color.
If you want to add more than one new expression, just rinse and repeat!

