
The aim of DYO Clipart templates is to give you the framework to create your own characters. One of the keys to this is the face and in this tutorial we’ll look at how to draw your own faces to create unique characters.
In this tutorial we are going to look at how to create your own features. We will also look at how we can duplicate elements – in this case the eye – to save time.
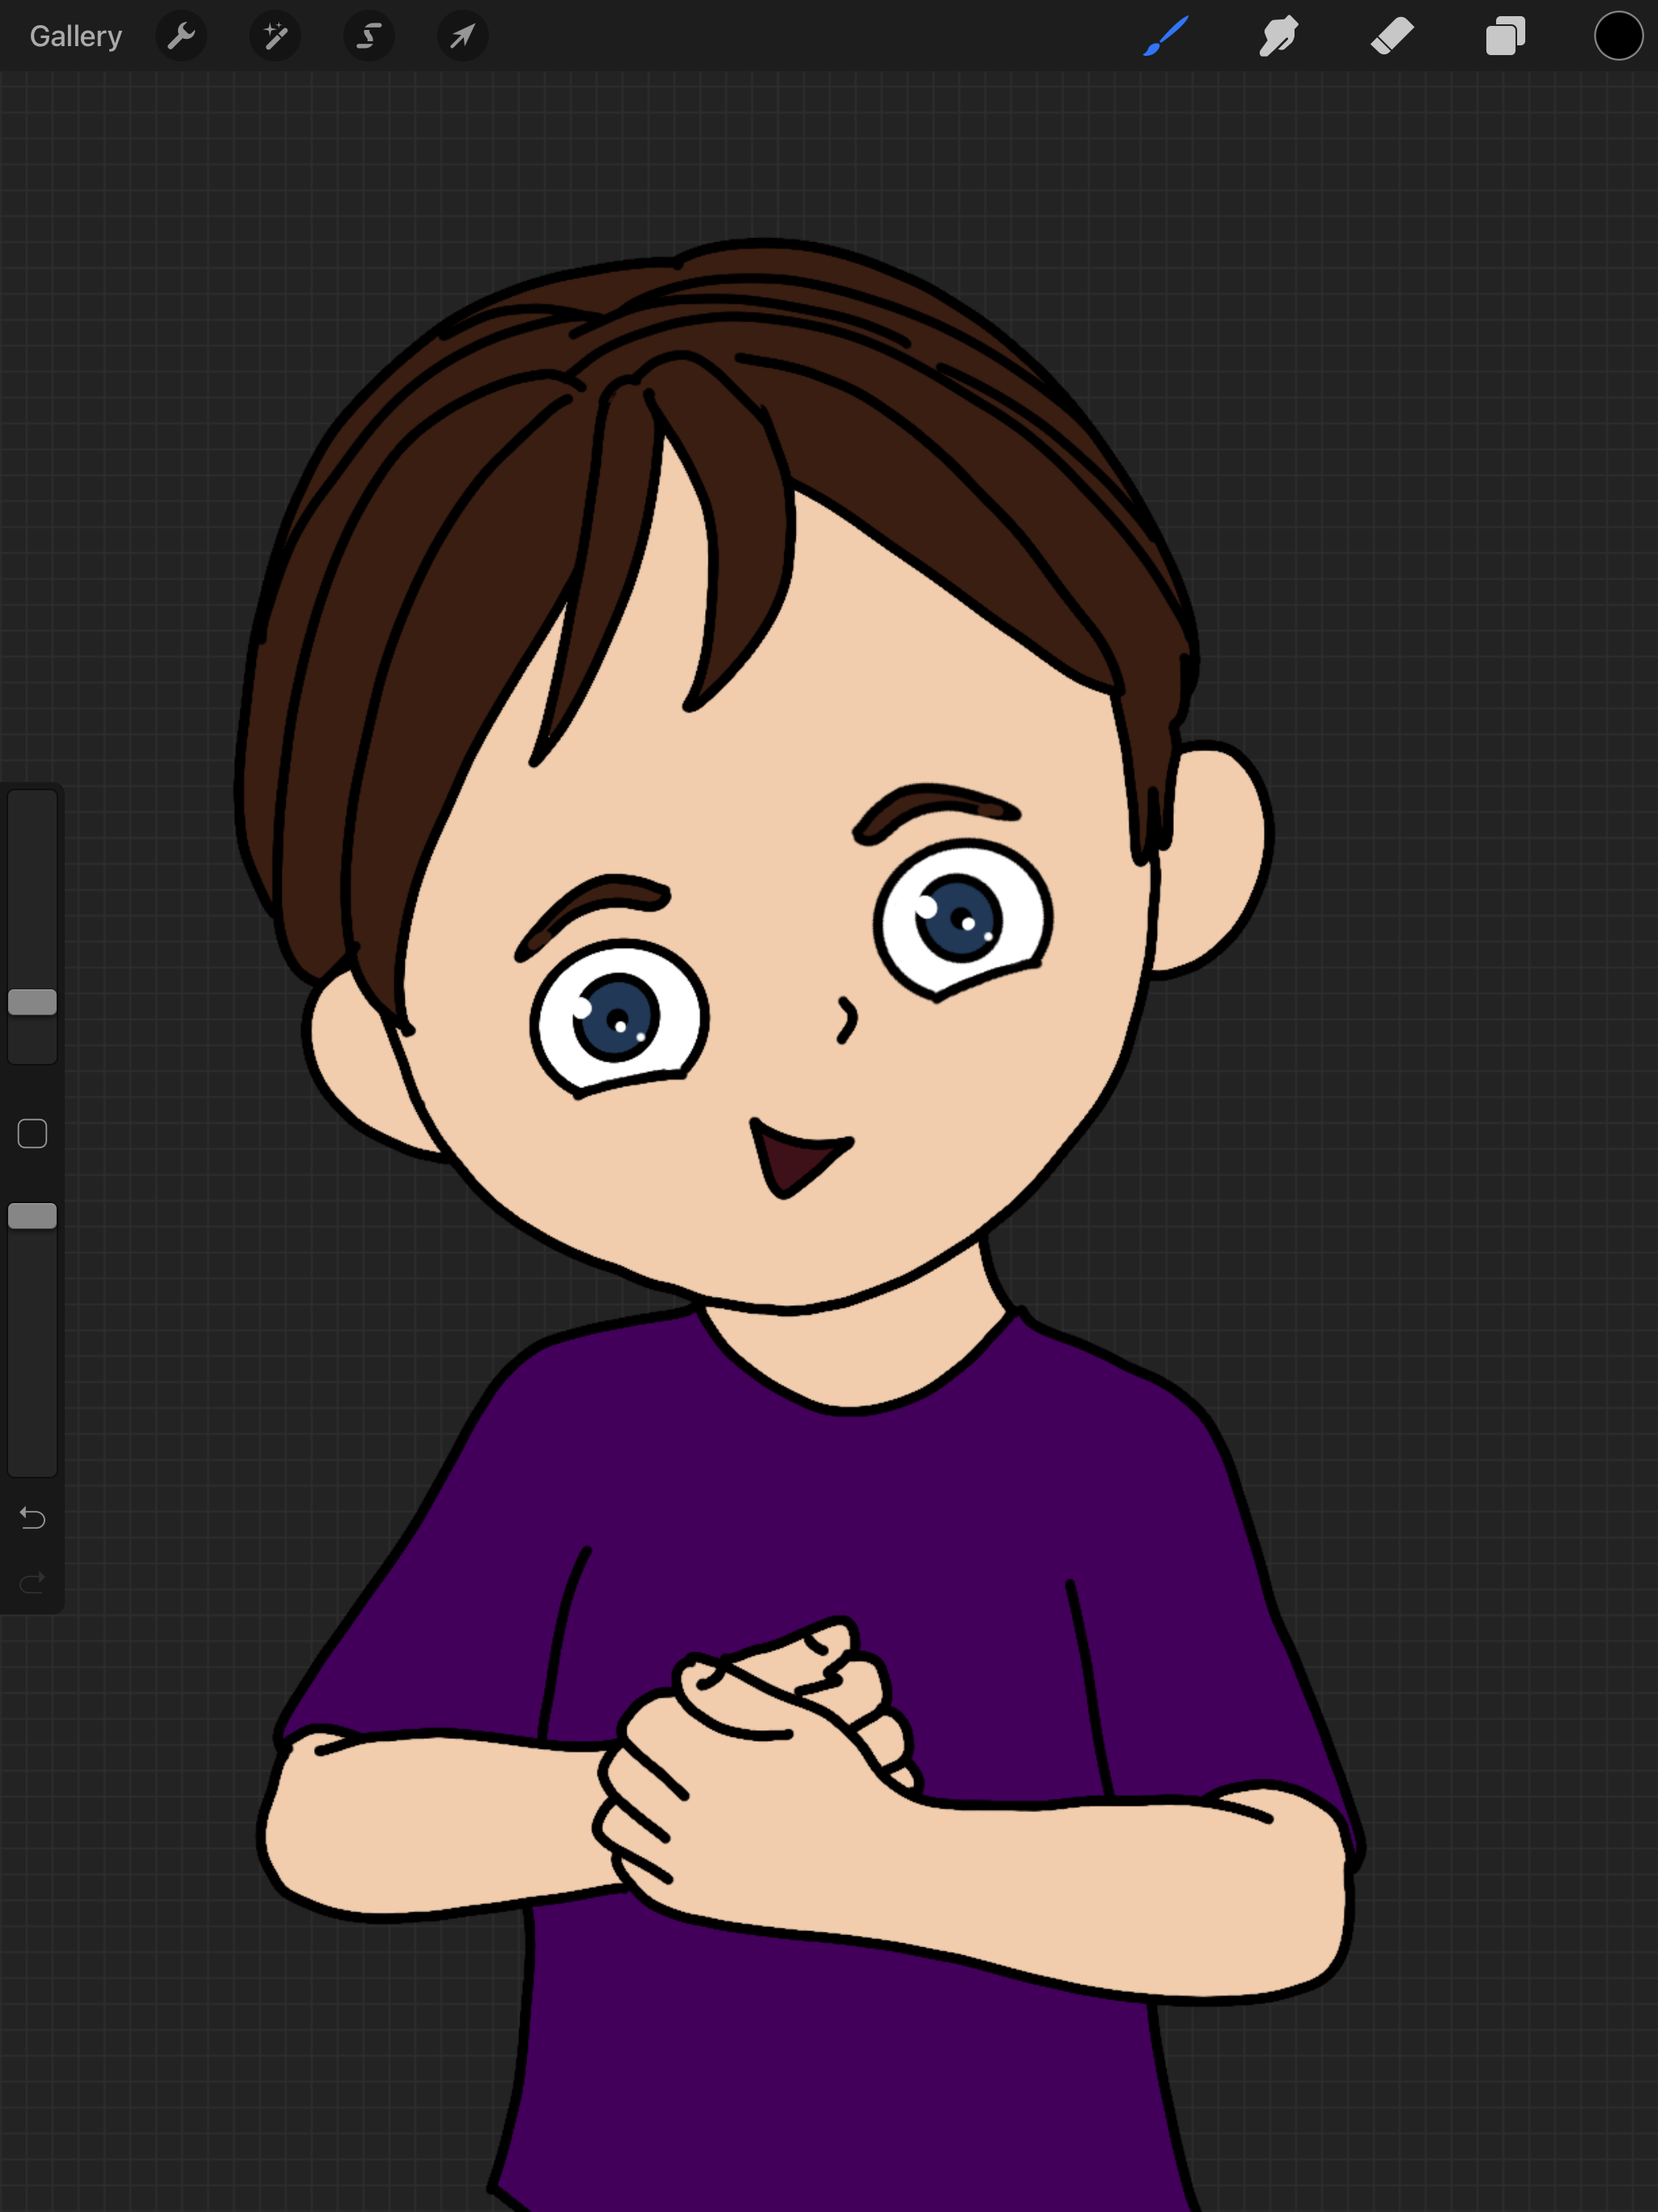
I am using Procreate for this tutorial, however any drawing app with layers will do a similar job.
Types of Faces
Before starting, think about what type of face you would like to draw. There are a whole host of different face types you can draw. The style you end up with will partially depend on your own preference but largely determined by the use you want to put the clipart to.
Realistic Facial Features
Realistic-ish facial features can be great for many projects. The upside of realistic facial features is it creates a realistic character, the downside is that it is more difficult to do – and also doesn’t allow for exaggerated expressions and features which may be useful in some resources.
Simplified Facial Features

A simplified face is relatively easy to draw yet can still pack a punch when it comes to expressing an emotion.
Align the eyes with the ears to give a natural look to your character.
Small eyes look great with simplified faces as large black dots for eyes can give the impression of a vacant expression – but try and see what works for you.
Cartoon or Comic Style Faces
Cartoony faces are fun to do as we don’t need to worry about them looking overly realistic and if you want to create a character with a big cheesey grin to make it super-clear he’s happy or give a character a quirky mouth to show he’s a little bit cheeky it’s fine to do.
You could also look at anime style faces or even some of the traditional comic book styles.
This style of face is easy to customize and tweak. Very different looks can be got depending on the placing of the eyes or the size of the irises.
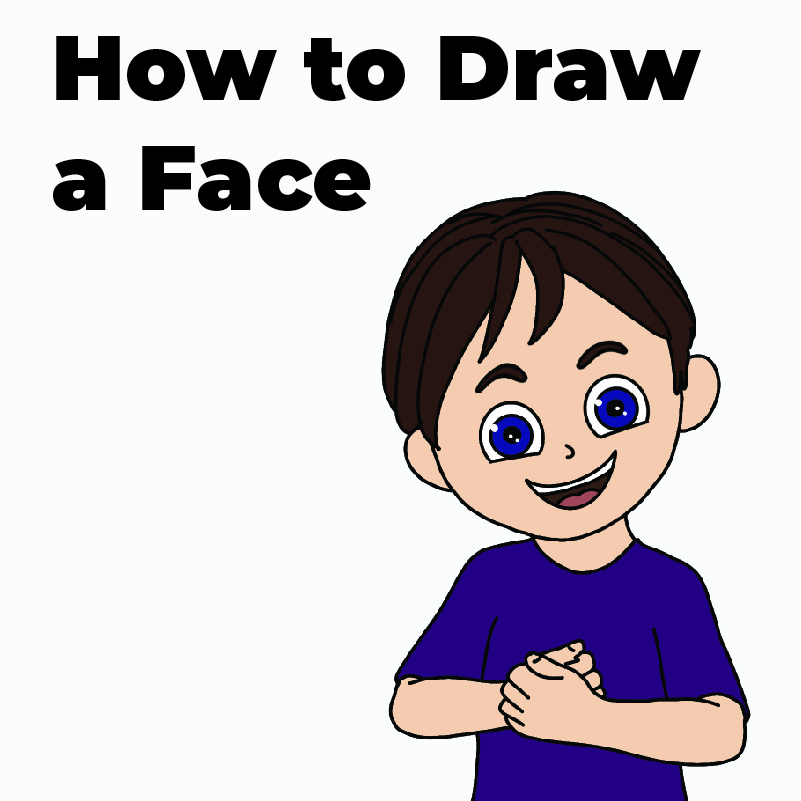
How to Draw Faces on Your Clipart – TUTORIAL
Pick your template and trace and tweak the character as in the get started tutorials. However, ignore the steps which relate to drawing the face.
Draw Faces On A Separate Layer
While you are experimenting and trying new facial features, I highly recommend drawing the face on a new layer. This means you can try several faces without having to erase any of your work.
Align the Pupils With The Pupils on the Template
If this is the first time you have drawn your own facial features, I suggest aligning the eyes with the eyes on the template by drawing the pupils on top of the pupils in the template
When you have done this hide the template layer.
Draw ONE Eye
In this tutorial I am going to show you how you can copy a finished eye, so you don’t need to worry about trying to get two eyes that look the same.
Of course, if you are happy drawing both eyes from scratch just ignore the next steps!
To draw this eye, I drew the circle for the pupil and iris. I then drew an oval for the eye. Because I wanted to create a smiling face, I adjusted the bottom line of the eye so it curved to create the illusion of smiley cheeks pushing up the eye.
Although I’ve added the catchlights in the illustration, I would normally add these as last thing in case I tweak the eye position.
Draw the Mouth
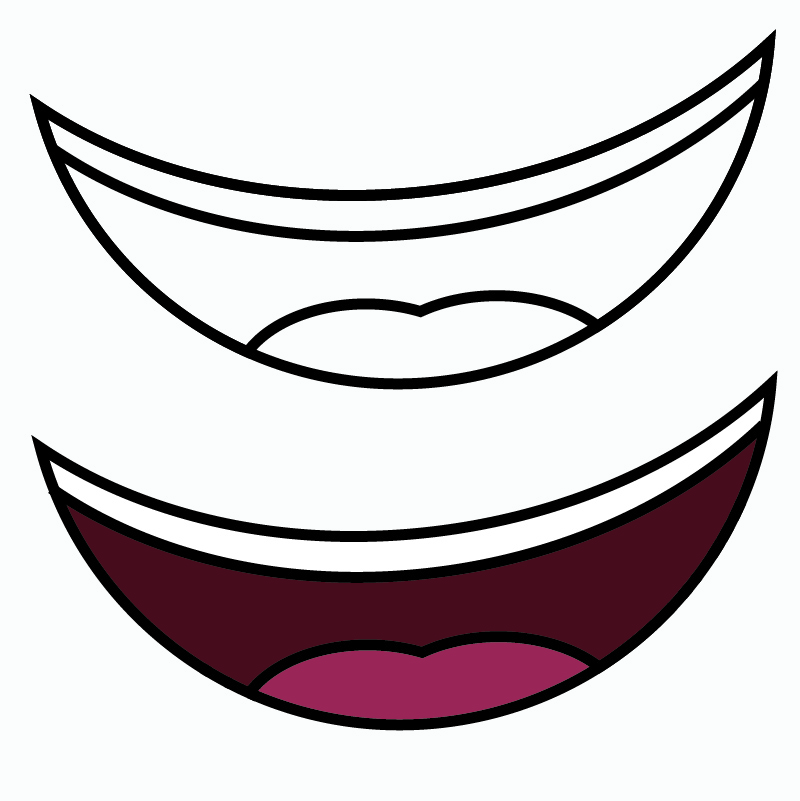
Draw a simple mouth. With big open smiles you can add a tongue as I have done here to add some interest.
While you ‘could’ draw individual teeth, it can make the image look crowded. If I am drawing a face as a closeup, for example to illustrate a resource about cleaning teeth, I may draw individual teeth. However otherwise I will probably draw ‘toon teeth’ which is a single white row.
Tip: You could try drawing the mouth on a separate layer and try moving it around or changing the size on the finished image to see what it looks like in different positions / sizes.
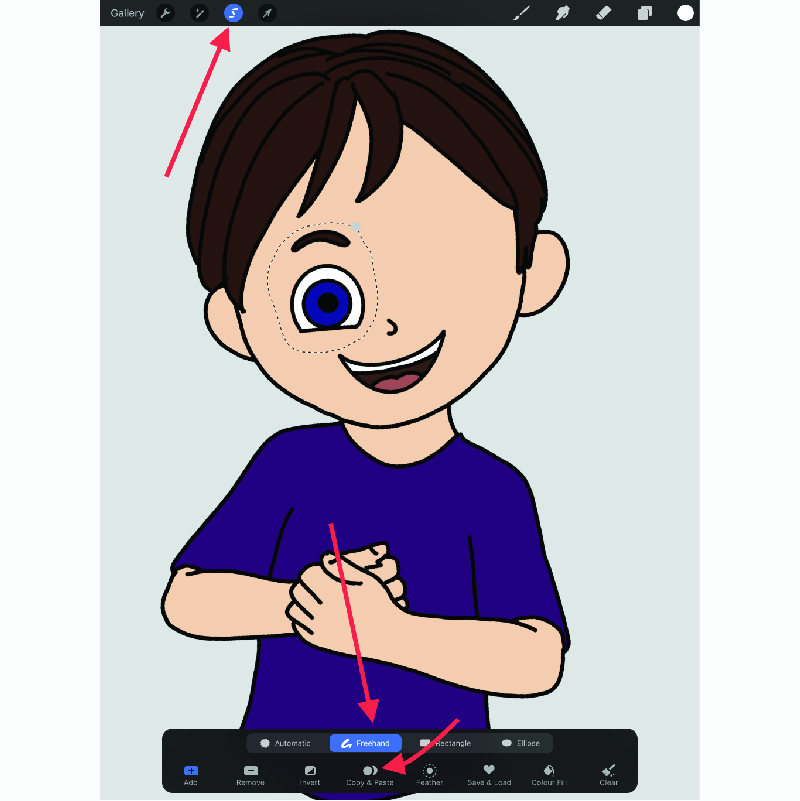
Duplicate the Eye
Use the select tool (in Procreate it’s the wiggly icon at the top left of the screen) and draw around the element you want to duplicate – in this case the eye.
Make sure the ‘Freehand’ option is selected at the bottom of the page.
Select ‘Copy & Paste’ and this will create a duplicate of the highlighted area on a new layer.
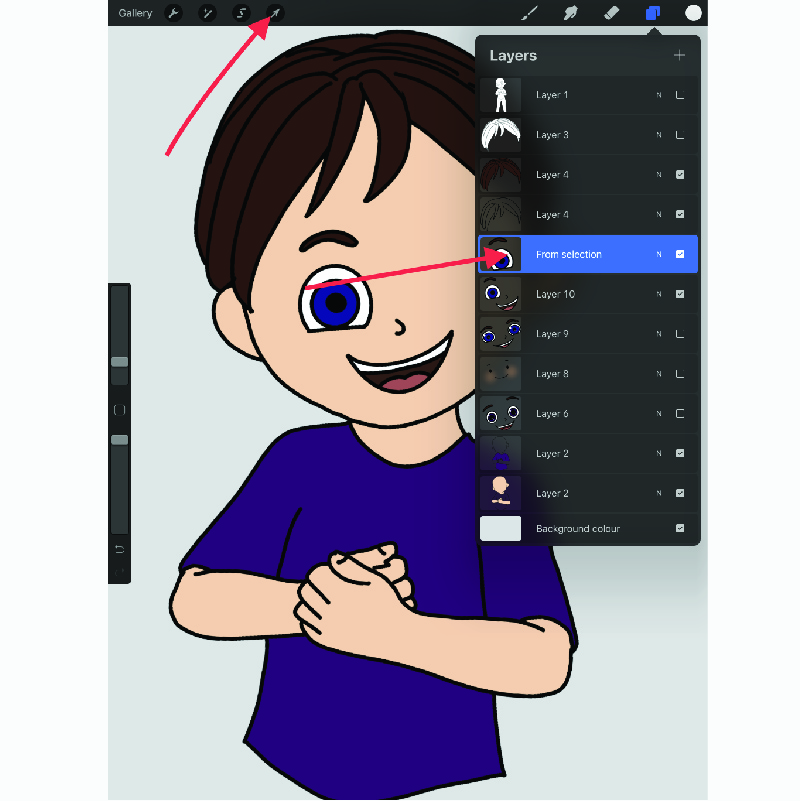
Open the Layer Panel to See the Duplicated Eye
Select the arrow tool at the top left which will allow you to drag the copied eye to the correct place. Make sure you have the correct layer selected.
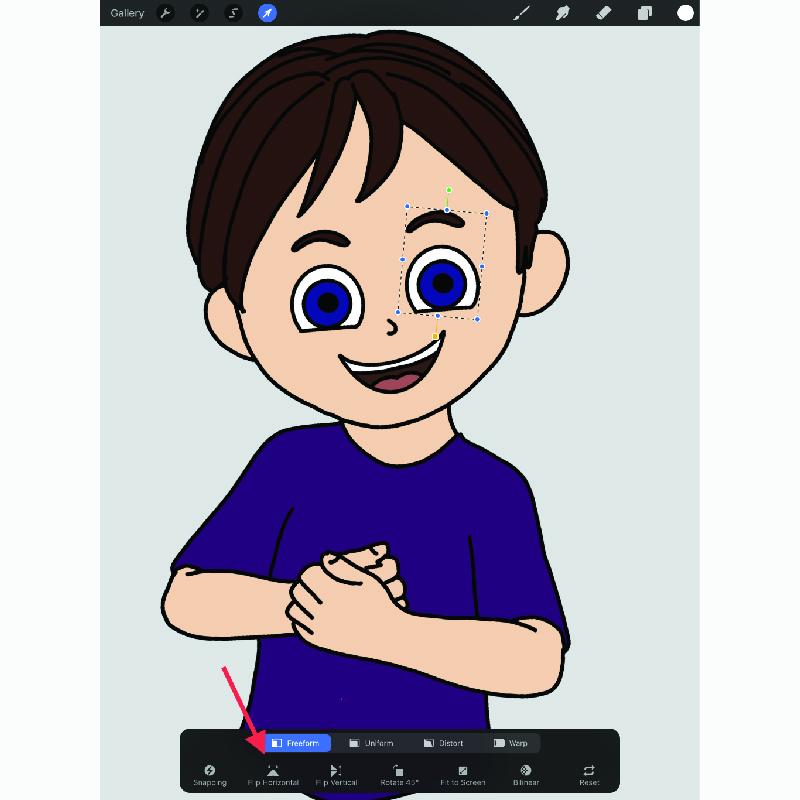
Move the Eye to the Correct Place
Move the eye into position. You can adjust how the eye looks using the adjustments at the bottom of the screen.
For example, if you use ‘freeform’ you could make the eye a little narrower than the original.
This is extremely useful if a face is at an angle.
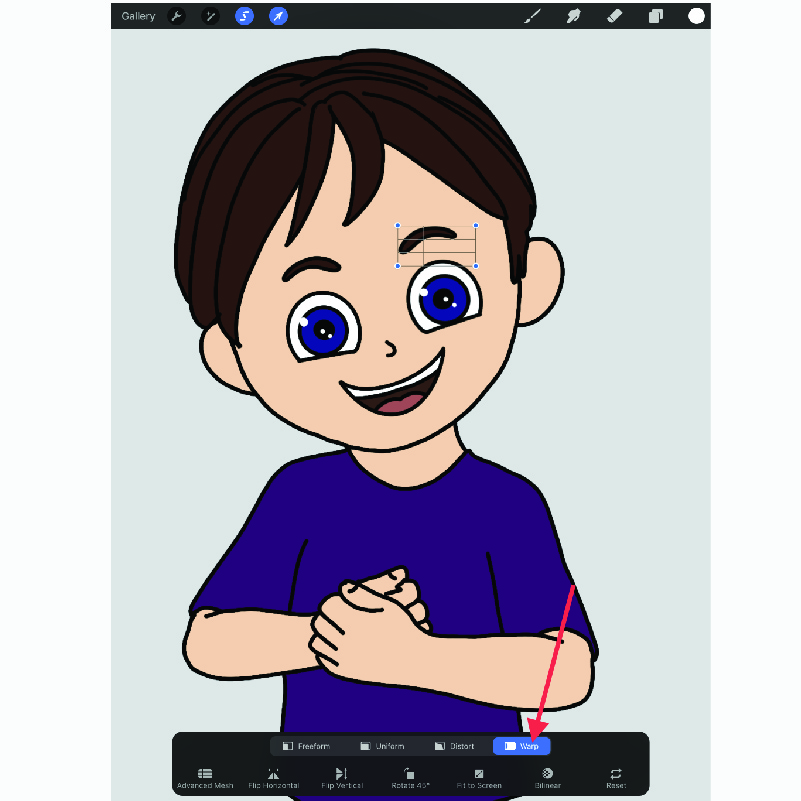
Use The Warp Tool
You can follow the same process to warp elements, for example the eyebrow.
Use the select tool to highlight the eyebrow, then choose the arrow tool and tap the Warp setting at the bottom of the panel.
You will now see you can move parts of the shape, in this case perhaps raise one edge of the eyebrow in true Roger Moore style.
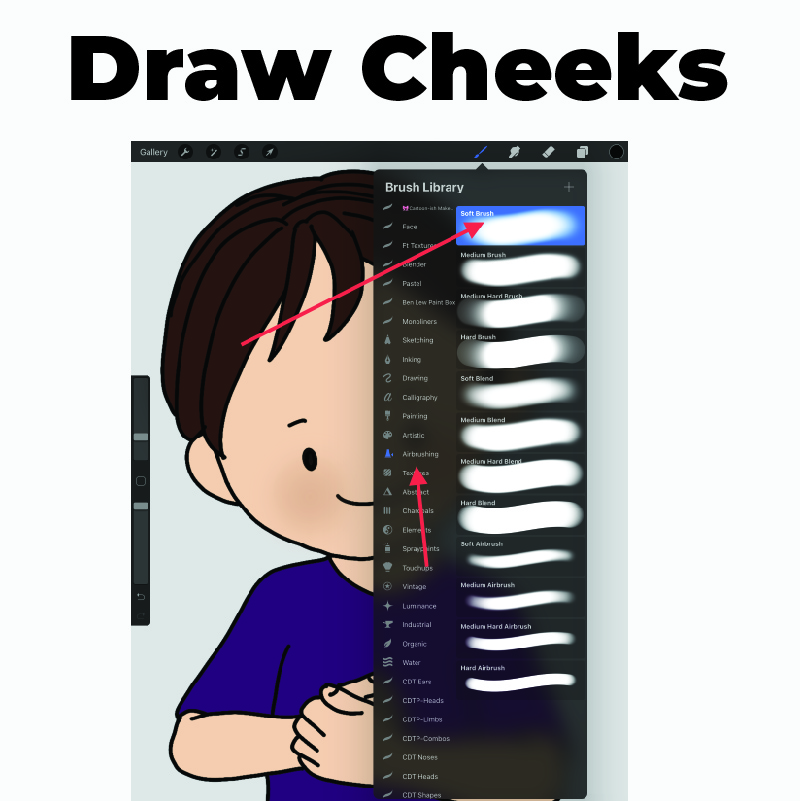
Draw Cheeks
If you want to add cheeks to your character you could try using the airbrush tool. This give a soft gradient effect.
Tip: Add cheeks in a layer UNDER the eye, therefore the eye won’t get colored by the cheek if the cheek overlaps the eye.
Experiment!
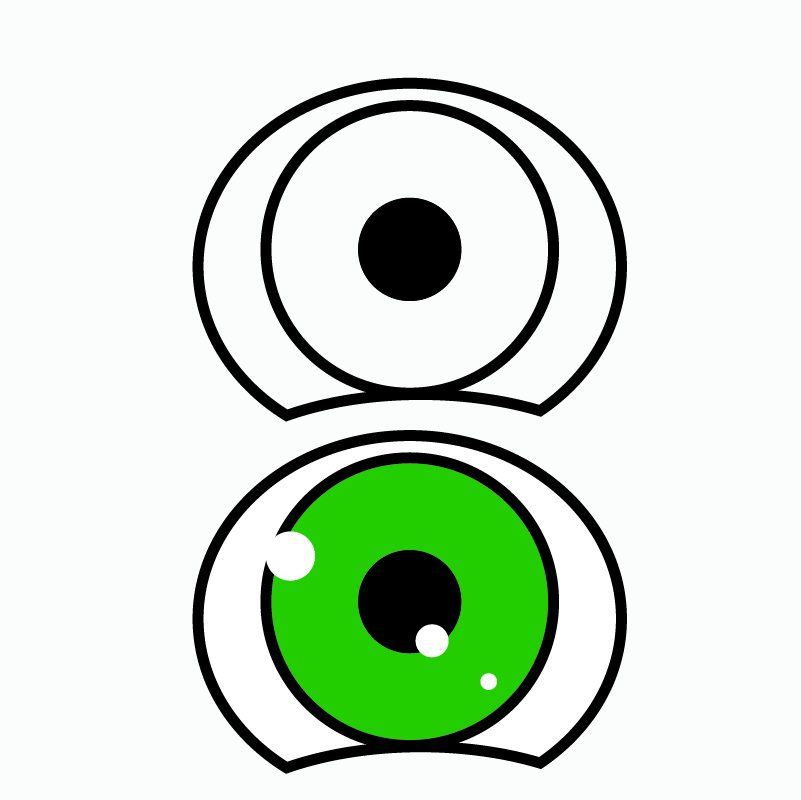
Have fun creating your own style. You will find that every facial element can be tweaked to make it your style. Just changing the size of the iris can have a huge difference!
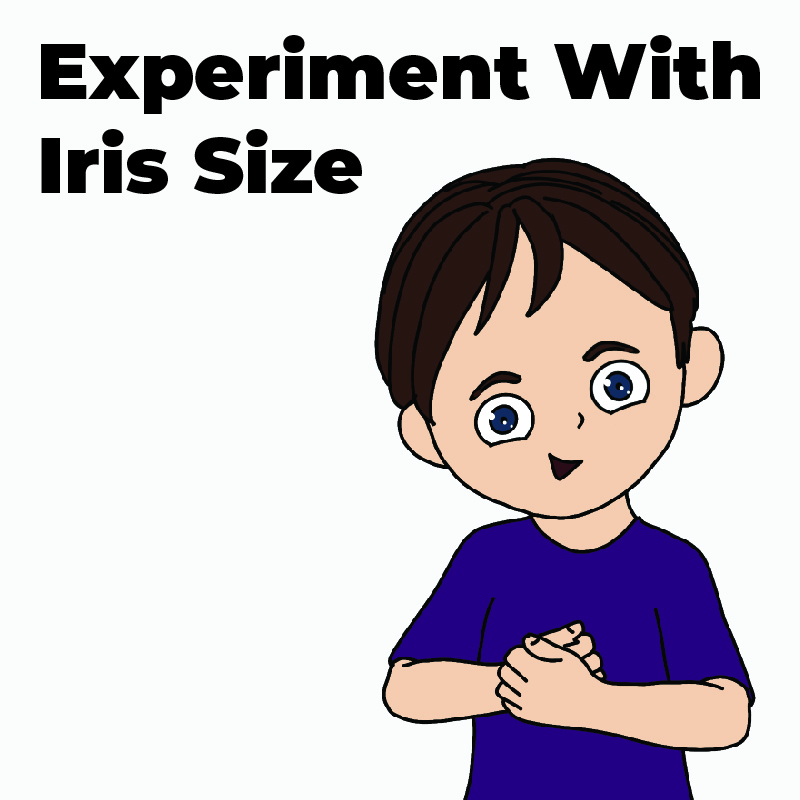
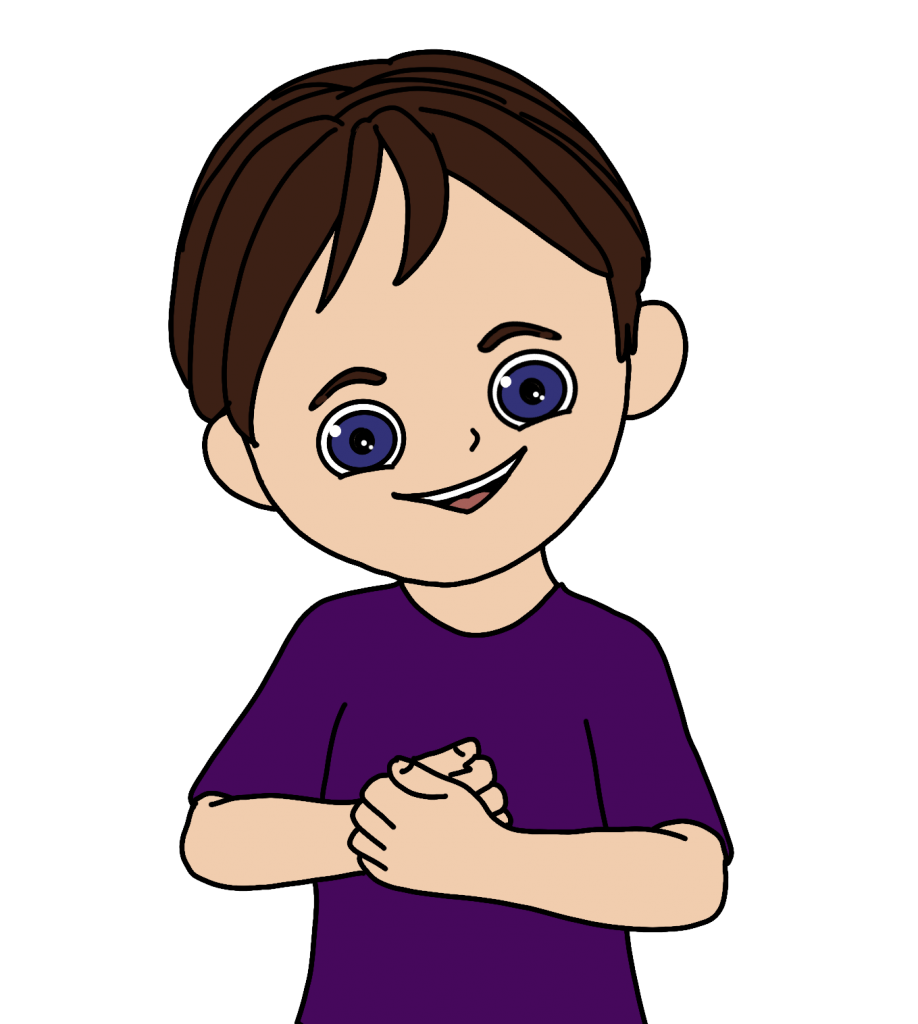
In these two images, the iris size is very different. This largely comes down to personal choice. Very big iris size is sort of reminiscent of manga/anime drawing. Smaller irises where the white is clearly seen around the iris is more traditional comic style.
What’s Next…?
We have another tutorial about creating eyes available here – How To Create Poseable Eyes. This shows you how to create eyes which you can quickly tweak the direction they are looking in without having to redraw the eyes or the face.
#dyoclipart
When you have finished, do post to social media and use the #dyoclipart hashtag – I love to see what you create 🙂